Directions for MAXL Method Complete SystemUpdated 2 months ago
Step 4: Dry with MAXL SoftSorb Drying Towel
Step 5: Maintain with MAXL ONE
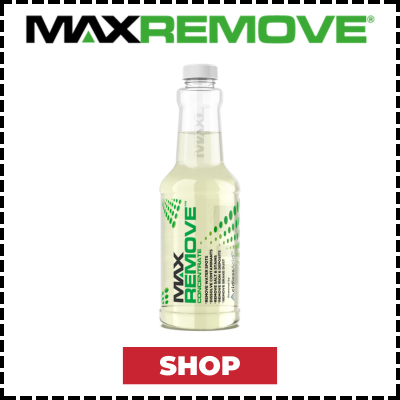
Step 1: Prep with MAXRemove
Apply MAXRemove to a cool surface, and do not apply in direct sunlight. (Note: Water spots must always be addressed immediately to reduce chances of etching into the surface. Once water spots have etched into the surface, the surface will have to be repaired by using an abrasive compound.)
- Using a dilution bottle such as the MAXL Dilution Bottle, mix MAXRemove to desired ratio according to the guidelines in the Dilutions chart below.
- Rinse off large debris such as mud, with water. Spray MAXRemove directly on surface, apply liberally - use on all exterior surfaces (paint, glass, chrome, wheels, etc.).
- Let sit on surface no longer than 2-3 minutes and never allow product to dry. If drying starts to occur, rewet surface with more MAXRemove, or a fine mist of water.
- Rinse thoroughly with water until the surface is no longer sudsing. For difficult areas such as heavy staining, hard water spots, etc, multiple treatments may be required; and/or, physical contact may be needed to help dislodge particles from the surface.
Immediately move to Step 2 Wash with MAXWash (below)
| Usage | Raito* |
| Difficult Stains, Water Spots | Full Concentrate |
| Wheels, Surface Prep | 1:1 (1 Part Water, 1 Part MAXRemove) |
| General Maintenance (Most Popular) | 4:1 (4 Parts Water, 1 Part MAXRemove) |
*Ratios: Add water first, then add MAXRemove. For example, 4:1 means add 4 parts water to the dilution bottle until it reaches the “4:1” mark, then add 1 part MAXRemove and fill to the “fill line” marked on the dilution bottle.
Tips: Spray MAXRemove into a MAXL YellowCell Hypersoft Wash Sponge, MAXL YellowCell Hypersoft Mini, microfiber towel, synthetic clay/decon towel, or applicator and wipe the area. To reduce chances of scratching or marring the surface, do not press down too hard while wiping, and be sure to use a soft towel or soft applicator. After using, remove trigger sprayer and screw cap back on bottle tightly. Run clean water through trigger sprayer to prevent clogging inside of trigger from occurring. Can be used in a mister or foam cannon. Bottle is designed to fit popular foam cannons (bottle may not fully seat).
DO NOT USE MAXRemove WITH A CLAY BAR AS IT WILL EAT MATERIALS IN THE CLAY BAR.
Important: This product may build pressure and vent. Upon receiving, rinse and dry the bottle thoroughly before placing on any surface to prevent potential stains. Wash hands after handling. Store using the white vented cap provided. If using a spray trigger, rinse it with clean water after use and replace the white vented cap for storage. Store in a cool, temperature-controlled area to minimize venting.
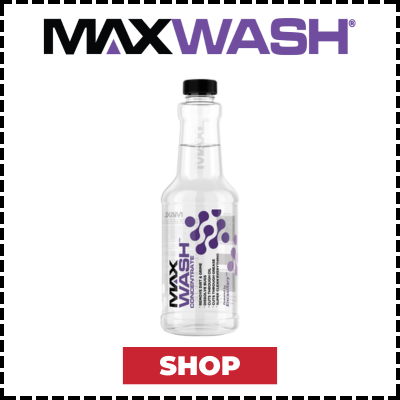
Step 2: Wash with MAXWash
Apply MAXWash to a cool surface, and do not apply in direct sunlight. Never allow product to dry on the surface. If drying occurs, mist more product or water occasionally on surface to rewet.
- Mix product to desired ratio according to the dilution chart below.
- Pre-rinse the surface with water. Spray MAXWash onto the surface. Apply liberally to difficult areas such as bug splatter, excessive road grime, etc. Allow product to soak 2-5 minutes on surface to allow it to work itself into stains, dirt, and debris. Multiple treatments may be required for heavily soiled areas.
- Spray MAXWash onto wash media such as the MAXL YellowCell Hypersoft Wash Sponge or a soft wet microfiber towel, then hand wash surface to mechanically dislodge the heavier stains and dirt off of the surface you are cleaning. Rinse microfiber cloth and/or wash sponge frequently to prevent excessive build-up of grime that can potentially mar or scratch the surface.
- Rinse off thoroughly with water until all sudsing has been removed.
- Immediately move to Step 3 Coat with MAXEasy (below)
MAXWash Dilution Ratios (use a dilution bottle such as the MAXL Dilution Bottle):
Usage | Raito* |
Surface Prep, Difficult Stains such as bugs | Full Concentrate |
Wheels, Surface Prep, Engine | 1:1 (1 Part Water, 1 Part MAXWash) |
Normal Wash, General Maintenance (Most Popular) | 4:1 (4 Parts Water, 1 Part MAXWash) |
All-Purpose Cleaner, Interior Cleaning | 9:1 (9 Parts Water, 1 Part MAXWash) |
Bucket Wash | 2-4oz per 1 Gallon of Water |
*Ratios: Add water first, then add MAXWash. For example, 4:1 means add 4 parts water to the dilution bottle until it reaches the “4:1” mark, then add 1 part MAXWash and fill to the “fill line” marked on the dilution bottle.
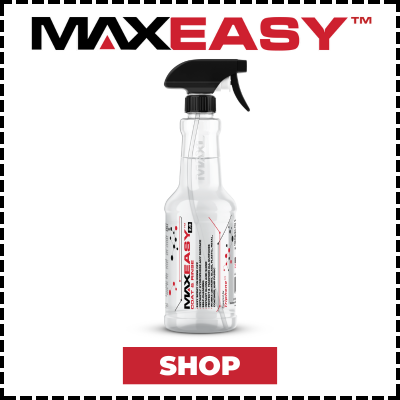
Step 3: Coat with MAXEasy
One bottle of MAXEasy can do 8-10 cars. MAXEasy can be applied either wet or dry. Here is a quick rundown of how to apply efficiently:
- Out of direct sunlight, wash the car and thoroughly rinse off the soap. Don't use a soap that has a wax, etc in it as that will try to fight anything you put on the car afterwards.
- Make sure you are out of direct sunlight, because sunlight causes MAXEasy to start drying and curing fast, which you do not want to happen until you are ready. Apply MAXEasy with only 1-4 sprays per panel. The hood is probably the only panel that would MAYBE need 4 sprays. If you are spraying more than 4 sprays on a panel, then you are over using and there will be excess product on the surface that will need to be wiped off while you are drying. You don't have to cover every square inch with MAXEasy because MAXEasy will spread very far when you rinse. Usually 1-4 spray lines per panel spaced apart about 18" or so is all you need. An easy way to make sure you don't use too much is to spray a big "X" across the entirety of each panel, which is only 2 full sprays. After you rinse, if you notice that you missed a spot, no big deal, just go back and hit it with MAXEasy then rinse.
- Rinse around to spread thoroughly as you rinse it off. I like to rinse from the bottom up to make sure I spread it everywhere. Do not let MAXEasy dry on the surface. If you feel you won't make it around the car in a timely manner, then do the car in sections at a time.
- Immediately move to Step 4 Dry with MAXL SoftSorb Drying Towel (below)
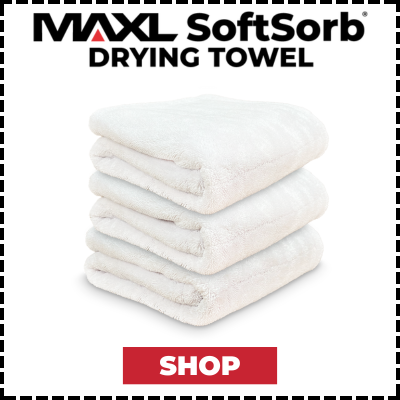
Step 4: Dry with MAXL SoftSorb Drying Towel
- After thoroughly rinsing off MAXEasy, immediately dry the car.
- (Optional) You can use a leaf blower to quickly remove bulk water from large surfaces, cracks, mirrors, wheels, etc. Do not spend too much time with the blower. The real drying power is with the SoftSorb drying towel.
- Use the MAXL SoftSorb Drying Towel to finish drying. This towel absorbs water instantly and can dry an entire car without scratching.
- While drying, look for areas where there may be excess product still on the surface and smooth those out as you go. Avoid using a chamois, as it will cause smears, streaking, and possible scratches.
General Tips:
- Always use on a cool surface and avoid direct sunlight to prevent products from drying.
- Use minimal pressure with soft microfiber towels to avoid scratching.
- Remember to open doors and clean door jambs and dry them.
- Be sure to lift the wiper blades and dry them.
- Regular use of MAXEasy maintains a brilliant shine and protective hydrophobic surface.
- MAXEasy needs 24-48 hours to reach peak hydrophobic performance and chemical resistance.
Do not apply pressure when drying a delicate surface. Let the SoftSorb technology and weight of the towel do the work as you blot or lightly pull the towel across the surface.
When dragging or pulling the MAXL SoftSorb towel across the surface, it is best practice to pull the towel from front to back. This direction is the same as the natural airflow over your vehicle while driving. Try to avoid pulling the towel crossways, if possible.
Maintenance: MAXL ONE
Going forward, MAXL ONE can be used to continuously clean, shine, and coat all surfaces.
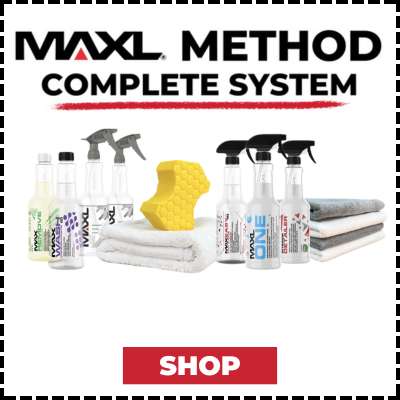
If the surfaces become too soiled or dirty, and you feel there are too many abrasives on the surface, you can perform the MAXL Method Complete System to deep clean and repeat the process. "When in doubt, just use the MAXL Method Complete System."
MAXL ONE vs MAXEasy
MAXL ONE and MAXEasy both contain Triphene and can be used as a robust high performance coating. However, MAXL ONE contains a little stronger presence of Triphene.
MAXL ONE can be used as a waterless wash where MAXEasy is not designed for that.
They both can be used as standalone coatings. MAXL ONE is a little better in several categories. MAXL ONE has:
- Slightly better Shine and Deep Gloss
- Slightly more Richness of Color
- Is better at Enrichening Rubber and Plastic
- More Slickness
- Better Hydrophobicity
- Slightly Longer Durability
MAXEasy is great for after a wash to easily coat everything fast.
Glass: MAXEasy excels the most on glass. It is extremely durable on glass and has outstanding hydrophobic performance on glass.
MAXL ONE vs MAXL Interior Detailer
MAXL ONE and MAXL Interior Detailer are both excellent for all interior surfaces.
MAXL Interior Detailer is the best for dust repelling thanks to it's NeverDust technology.
MAXL ONE will have more durability, protection, and hydrophobicity.
Can the coating products (MAXL ONE, MAXEasy, and MAXL Interior Detailer) be used over each other?
Yes, they all play nice together. Many like to use MAXEasy anytime they wash and then use MAXL ONE over it for extra boost and extra performance. MAXL Interior Detailer works great over both MAXEasy and/or MAXL ONE for extra dust repelling.
